Classic Devil’s Food Cake
Makes:
one 2-layer 8-inch (20 cm) cake
Serves:
10 to 12
Prep Time:
1 hour
Bake/Cook Time:
30 minutes
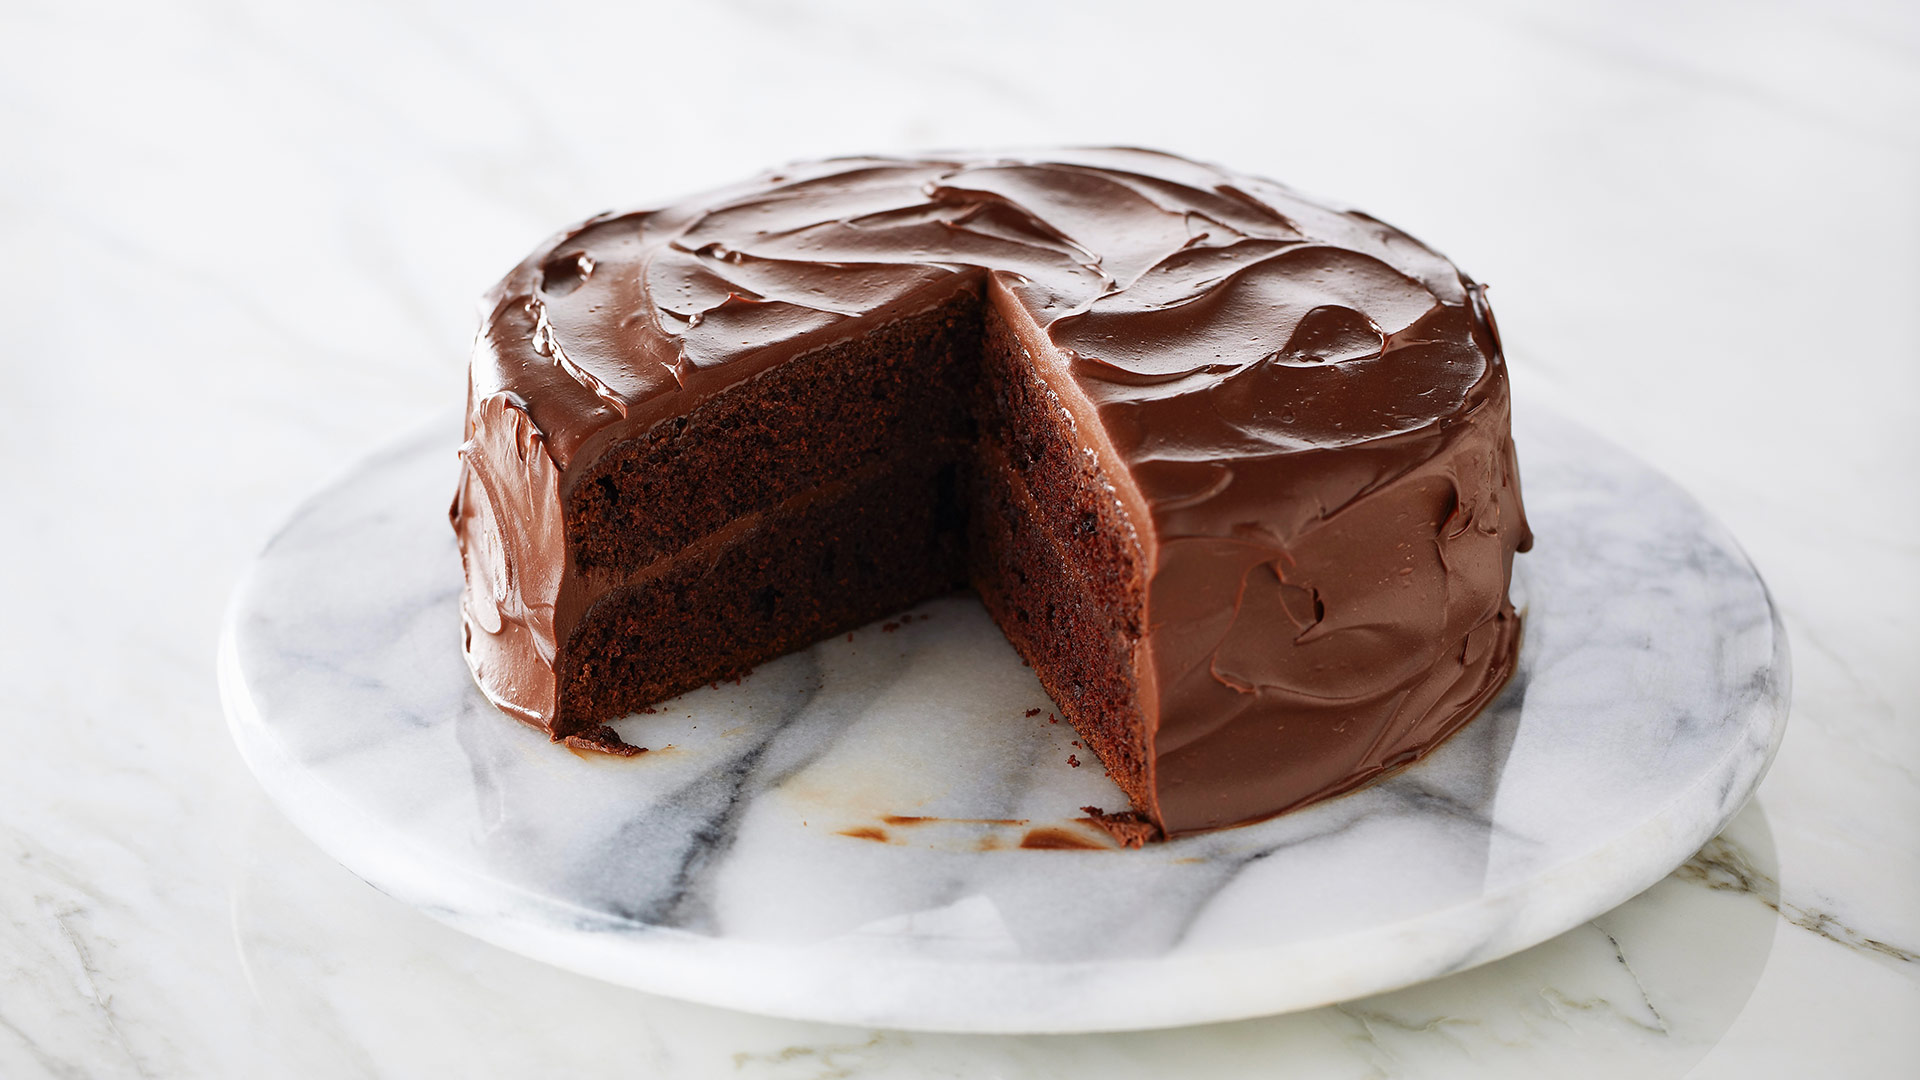
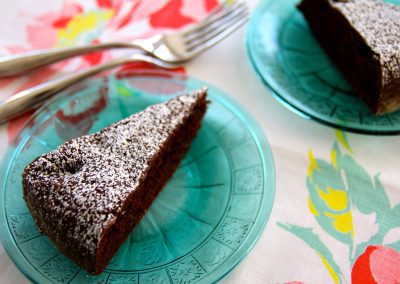
To qualify as a devil’s food cake (the antithesis to an angel food cake), the cake should be very dark and rich in chocolate taste but still have a delicate moist texture. This cake meets all of those qualifications. More specifically, a devil’s food cake needs to include cocoa powder, baking soda, and hot coffee or water.
Ingredients
Chocolate Cake:
- 1 ½ cups (195 g) cake and pastry flour
- 1 ⅓ cups (300 g) superfine (quick-dissolve) sugar
- ½ cup (60 g) Dutch process cocoa powder
- ⅓ tsp baking soda
- ¼ tsp salt
- ½ cup (115 g) cool unsalted butter, cut into pieces
- ½ cup (125 mL) hot, strong brewed coffee
- ½ cup (125 mL) milk
- 1 tsp pure vanilla extract
- 2 large eggs, at room temperature
Fudge Frosting:
- 12 oz/360 g semisweet couverture/baking chocolate, chopped
- 1 ¾ cups (440 mL) whipping cream
- ½ cup (125 g) sour cream
- ½ tsp pure vanilla extract
- pinch salt
– To keep this frosting dense and fudgy, take care not to overmix it, but if you are looking for more of a classic, whipped chocolate frosting, then do beat it well. It will turn lighter in colour, however, losing its “devilishly” dark intensity.
Step by Step Instructions
Step 1
Preheat the oven to 350°F (180°C). Grease two 8-inch (20 cm) cake pans and line the bottoms with parchment. Dust the sides of the pans with flour, tapping out any excess.
Step 2
For the cake, sift the flour, sugar, cocoa powder, baking soda, and salt into a large mixing bowl. Using electric beaters or in a stand mixer fitted with the paddle attachment, cut in the butter, starting on low speed and gradually increasing to medium speed until the mixture is a fine crumble (like the texture of fine breadcrumbs) and no large pieces of butter are visible.
Step 3
Stir the hot coffee, milk, and vanilla together and add them all at once to the flour mixture, mixing until smooth. Break the eggs into a small dish, stir them with a fork to break the yolks, and then add them to the batter, mixing on medium speed just until smooth (the batter will be very fluid). Divide the batter evenly between the prepared pans and tap them on the counter to eliminate any air bubbles.
Step 4
Bake the cakes for about 30 minutes, until a tester inserted in the centre of the cake comes out clean. Cool the cakes for 20 minutes in their pans on a cooling rack, then tip them out onto the rack to cool completely to room temperature. The cakes can be baked a day ahead and stored, in an airtight container or wrapped in plastic wrap, at room temperature before frosting.
Step 5
For the frosting, place the chocolate and cream in a metal bowl and place it over a saucepan of barely simmering water. Stir the chocolate and cream occasionally and gently until all the chocolate has melted and the mixture is smooth. Remove the bowl from the heat and whisk in the sour cream, vanilla, and salt. Let the mixture cool completely to room temperature, stirring occasionally (you can chill the mixture for just a few minutes to start it setting, then let it continue to cool naturally at room temperature). Once cooled to a thicker consistency, whisk by hand to thicken just into a spreadable consistency (do not whip it vigorously or with electric beaters).
Step 6
Place the first cake layer on your serving plate and, if necessary, trim it to level it. Spread a generous layer of the frosting over the top of the cake. Trim the second cake, if necessary, and place it on top of the first layer. Spread the frosting over the top and then the sides of the cake, using a swirling motion with your spatula to create a nice design. Chill the cake for at least 2 hours before serving. The cake will keep, refrigerated in an airtight container, for up to 3 days.

